
Draw your floor plan in 3D online
Announcements
You can design your floor plan in 3D online without needing expensive software or advanced technical knowledge.The modern tools available on the internet make this process accessible and intuitive for anyone from professional architects to property owners who want to better visualize their spaces.
Announcements
Three-dimensional visualization has revolutionized the way we plan environments, allowing you to see exactly how your project will look before performing any work.With the advanced strategies and optimizations you will know in this article, you will be able to create professional and realistic representations of your environments.
Why designing your floor plan in 3D is essential
Creating a floor plan in three dimensions offers a complete perspective of your space, different from the traditional two-dimensional view. You can better understand the movement of people, the incidence of natural light, the positioning of furniture and the overall ergonomics of the environment. This prior understanding avoids costly mistakes and ensures that the final result corresponds exactly to what you imagined.
Three-dimensional visualization also facilitates communication with professionals such as architects, designers and builders. Instead of verbally describing your ideas, you show a visual model that everyone can interpret in the same way. This alignment significantly reduces misunderstandings and rework during the process of renovation or construction.
Online tools to draw 3D floor plan
There are several specialized platforms that allow you to draw your floor plan in 3D directly in the browser. Programs such as Floorplanner, Homestyler and Sweet Home 3D offer intuitive interfaces with drag and drop features, making it easy to position walls, doors and windows. These tools do not require installation of heavy software on your computer.
Platforms like RoomSketcher and Planit offer extensive libraries of high-definition furniture, appliances and decorative elements.You can fill your environments with realistic objects and visualize how the project will look completely furnished.Most of these platforms offer free versions with basic functionality and paid plans with advanced features.
Advanced strategies to optimize your 3D drawing
A key strategy is to start your drawing with precise measurements of your actual space. Use tape measure, tape measure or camera measurement applications to get exact dimensions of length, width and height of the environments. The more accurate your initial measurements, the more realistic your final three-dimensional representation. Also note the location of fixed points such as doors, windows and columns.
When drawing the base structure, keep the ratio between environments and respect the actual thicknesses of the walls. Many people make the mistake of creating very thin or thick walls, which compromises the overall appearance of the project. Most walls in homes have thickness between 10 and 20 centimeters, depending on the type of construction. Adjust this parameter correctly on your tool for greater realism.
Work lighting as a strategic element of your three-dimensional project. Set natural light points through windows and create artificial lighting by strategically positioning luminaires. Correct simulation of light incidence reveals shadows, highlights textures and offers a much closer visualization than you will live in day to day. Adjust colors of walls and floors to test how light behaves in different materials.
Use realistic textures and materials for your vertical and horizontal surfaces. Instead of maintaining generic white walls, apply paint textures, wallpaper or ceramic tiles that you actually intend to use. This practice transforms your drawing from a technical diagram to a visualization that resembles much more the final reality. Note how different finishes affect the perception of size and luminosity of the environment.
Practical optimizations for professional results
Work in separate layers for different elements of your project when the tool allows.Separate layers for structure, furniture, lighting and decoration, facilitating further adjustments without compromising all work. This organization also makes it easier to visually disable certain elements to study specific aspects of the project.You can, for example, disable furniture to see only the architecture or disable natural lighting to study the artificial.
Create multiple versions of your project explore different scenarios and possibilities. Copy your base design and make changes such as different furniture layouts, color palettes or room layouts. Comparing these variations side by side, you can safely identify which option works best for your space and your lifestyle. This iterative process ensures that you achieve the best possible result.
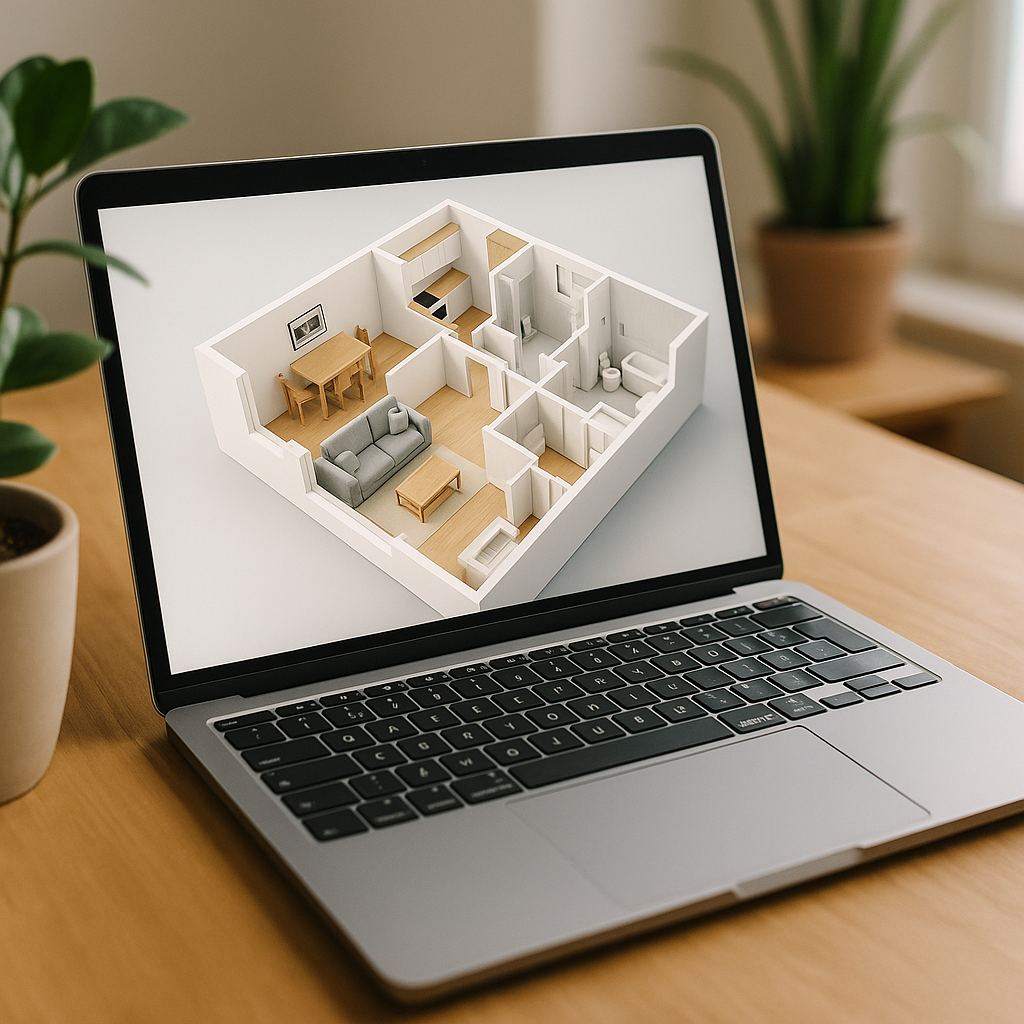
Take screenshots or renderings at different angles and perspectives of your 3D drawing. Visualizing your space from multiple points of view, such as from the entrance of the room, from a corner, or from a higher height, helps to identify circulation or proportion problems that would not be obvious in a single perspective. These different views are also useful to share with professionals and receive more accurate feedback.
Practical steps to start your drawing
Initially, choose the online tool that best suits your level of experience and specific needs. If you are a beginner, opt for platforms with very intuitive interface and many tutorials available. If your project is more complex, choose tools with advanced features such as importing existing plants in PDF or detailed handling of structural elements. Test the free version before investing in paid plans.
After choosing your platform, create a new floor plan and start positioning the basic structure of your space. Draw the outer walls first, establishing the general perimeter of the environment. Subsequently, add internal walls, doors and windows. Keep constant reference to your annotated measurements to ensure accuracy. Do not rush at this stage, as a well-built base structure facilitates all subsequent steps.
With the structure ready, start by adding elements in a progressive way. First insert floor and wall finishes, then lighting, and finally furniture and decoration. This logical sequence prevents you from overloading yourself with simultaneous visual information. After each important addition, make renderings or screenshots to assess how it turned out. Make adjustments as needed before proceeding to the next elements.
Using specialized platforms like OteApp for advanced optimization
Specialized platforms like OteApp offer advanced features for professionals who want to significantly raise the quality of their drawings and projects in 3D. These tools integrate sophisticated features of area calculation, material management and cost estimation, making 3D drawing not only a visualization, but a complete planning tool.
Advanced platforms allow synchronization with other software and formats, facilitating file sharing with diverse professionals.You can export your drawing in multiple formats such as DWG, PDF, OBJ or FBX, ensuring compatibility with any software that your employees use. This flexibility eliminates technical barriers and makes the workflow much more efficient.
Use advanced simulation features offered by specialized platforms to test specific aspects of your project. Simulate flow of people in your space, observe how natural light varies throughout the day, or calculate how long it takes to perform certain movements in your layout. These simulations provide valuable insights that help you significantly optimize the final design. Identify circulation bottlenecks or underutilized areas before the project leaves the paper.
Explore augmented or virtual reality features available on some advanced platforms. These technologies allow you to view your drawing at full scale in your current space using smartphone or VR glasses. This immersion offers much deeper understanding of the proportions and daily experience in your environment.
Essential tips for flawless final result
Always validate your drawing by comparing it to the real space. If possible, print a scale floor plan and overlap over the real environment to check correspondence. This simple validation avoids unpleasant surprises when the project leaves the paper.Specially note doors, windows and fixed elements that cannot be moved. Any discrepancy in these structures significantly compromises the viability of the final design.
Keep your project saved regularly and in multiple backup locations. Cloud, pen drive and external disk are simple options that protect your work from unexpected data loss. Create named versions with dates so you can track the evolution of your project. This history is valuable if you need to revert to a previous version or justify changes made during the process. Organize your files logically from the beginning.
Seek feedback from people with different perspectives to your finished project.Show your 3D drawing to friends, family or professionals in the field and listen to your honest impressions.Often, other people identify problems or opportunities that you have not seen because you are too involved in the project.This external feedback helps you further refine your work and ensure that the end result pleases not only you, but also meets the expectations of other users of the space.