
Test New Visuals Before Cutting Hair
Announcements
You are thinking about making a radical change in hair, but are afraid of the end result.The truth is that testing new looks before cutting hair is a smart and increasingly affordable strategy, especially with modern digital tools like OteApp.In this practical guide, you will find out how to try different styles safely.
Announcements
Many people make impulsive decisions in the hairdresser’s chair and end up regretting it. The good news is that there are several ways to visualize how you will look with a new cut or color before making any irreversible cut.
Why Testing New Visuals Is Essential
When you test a look before cutting it, you drastically reduce the risk of dissatisfaction. A wrong haircut can take weeks or months to grow back, affecting your self-esteem and confidence during this period.Testing different styles beforehand, you have the chance to evaluate how they match your face, hair type and personal style.
The psychology behind this practice is simple: visualizing changes before implementing them creates emotional security.You are not only imagining how it will look, but actually seeing the transformation in real time.
Also, when testing new looks, you can talk better with your hairdresser about the real possibility of achieving the desired result.There is often a difference between what you imagine and what you can do considering your hair type, texture and natural conditions.
Step 1: Prepare Your Phone and Download Simulation Apps
The first step is to choose the right tools.OteApp is one of the most popular applications for this purpose, as it offers advanced facial recognition technology. Download the application in the app store of your phone, be it Android or iOS, and make the basic registration with your email. The process is fast and usually takes less than two minutes.
There are also other complementary apps you can explore, such as Virtual Makeover, HairMax or even filters on social networks like Instagram and TikTok. Ideally, you should have at least two or three apps, as each offers different styles and simulation technologies. Some are better for short cuts, others for colors, and some for full transformations.
Make sure your phone has enough space and adequate battery before you start. You will need to take several photos under different lightings, so be patient and take a thirty minutes for this process.It is also important to clean the camera of your phone to ensure good quality photos.
Step 2: Take Quality Photos at Different Angles
The photos you will use to test the visuals need to be clear and well lit. Try to take photos in a place with natural light, preferably near a window during the day. Take photographs of front, right profile and left profile, so you will have a complete view of how the new look will look at different angles.
Avoid using filters or edits on photos before uploading them to the app.OteApp and other apps work best with natural images, without excessive makeup or hair-covering accessories.If you wear glasses regularly, also take a photo with glasses, as this affects how cuts look on your face.
Lighting is critical in this process. Photos taken with cell phone light or very strong artificial light tend not to work well with simulation apps.Test different times of day and choose the one where your skin looks more natural and your hair is well visible. You can even ask someone to take the photos of you, ensuring better framing.
Step 3: Explore Styles in OteApp Step by Step
Open OteApp and select the photo upload option. Choose one of the images you took and let the app process your face.OteApp facial recognition technology will map the contours of your face, the length of your current hair and other important features. This process usually takes between 5 to 15 seconds.
After loading, you will have access to a library of different styles.OteApp offers categories such as short cuts, long hair, colors, locks, and even special styles such as waves and curls.Start by exploring the category that interests you the most. If you want to make a cut, go for cuts. If you want to change the color, go for colors. You can always go back and try other categories later.
For each style, you can adjust some parameters in the application. Many apps allow you to increase or decrease the length, change the intensity of the color or adjust the fringe. Tap each option and see how it looks in your photo. Take a print or save the image of each style you like, creating a folder with your preferences.
Try at least ten to fifteen different options to get a clear view of what suits you best. Sometimes a style that seemed perfect in the first place may seem less appealing when compared to other options.
Step 4: Compare Results on Different Devices and Illuminations
Simulations may look different depending on how you view them. Transfer the prints or saved images from OteApp to your computer and see them on a larger screen. Sometimes details that go unnoticed on the phone become very clear when you see the enlarged image. This helps to identify whether the cut really matches your face and bone structure.
Share the images with people you trust, such as close friends or family. Ask for honest opinions, but remember that the final decision should be yours. Other people can offer valuable perspectives you had not considered, or can confirm their intuitions about which styles work best for you.
Visualize the images at different times and lighting environments if possible. The same hair color may look completely different under natural light, yellow artificial light or fluorescent light. If you work in an environment with specific lighting, try to view the simulated images under similar conditions to get a realistic idea of how you will see yourself in everyday life.
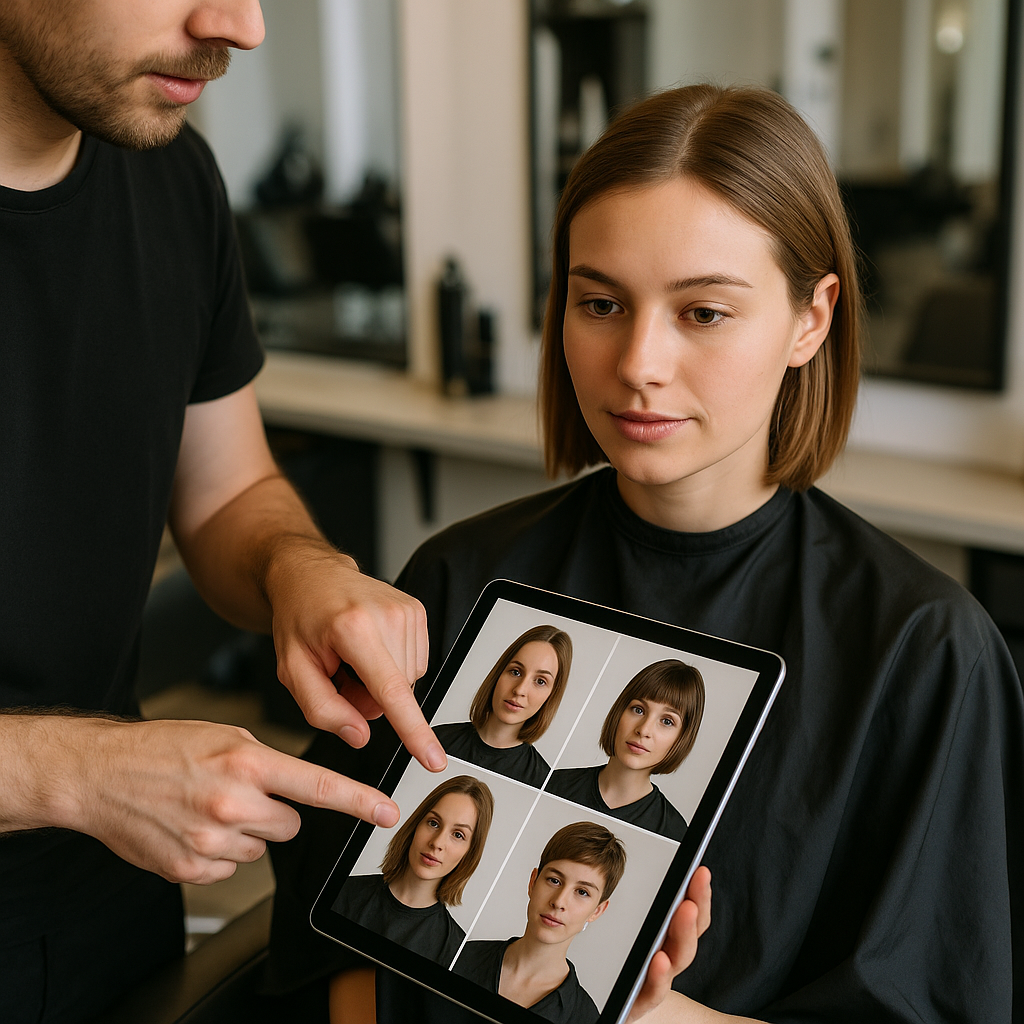
Step 5: Talk to Your Hairdresser Taking the Images
Organize the images you liked the most and put them in a folder on your mobile or print some of them. When you schedule your appointment with the hairdresser, take these images and show exactly what you want. This eliminates most confusion about expectations, because the hairdresser will have a clear visual reference of what you want.
During the conversation with the hairdresser, be honest about the type of hair you have, the natural limitations, and how long you are willing to invest in maintenance. A short cut will require frequent maintenance, light colors need regular retouching, and naturally straight hair may not keep waves permanently.
Ask if the hairdresser has photos of other customers successfully in that cut or color. This validates that the result you saw in OteApp is indeed achievable with real hair.Some hairdressers work better with certain types of hair, so talking about these limitations ensures that you and the professional are aligned in expectations.
Step 6: Take a Gradual Test Before Complete Transformation
If you are considering a radical change, such as moving from long hair to very short, consider transitioning in stages. You can start by cutting a few centimeters to get used to the shorter length, then make the final cut weeks later.
For color changes, you can start with a shade closer to your natural color before jumping to much lighter or darker colors. Semi-permanent dyes are excellent for this, as they gradually fade and allow you to reverse if you don’t like it. Use the OteApp again to simulate intermediate colors that could be a good bridge to the desired final color.
Another smart test is to use extensions or wigs before cutting long hair. You can buy an extension with the desired length and final style, wear for a few days or weeks, and realize how it feels with that appearance. This small initial investment can save you a lot of regret later.
Step 7: Take Care of Your New Look After Transformation
After cutting or changing the color, you need specific care to keep the result as close as possible to what you simulated in OteApp. Invest in products suitable for your hair type and the new style you have chosen. A well-made and well-groomed cut keeps the shape much better than a careless cut.
Schedule maintenance regularly with your hairdresser.The frequency depends on the type of cut and color you have chosen. Very short cuts need maintenance every three or four weeks, while some long cuts may go longer. Color retouching is usually necessary every six to eight weeks, depending on the color and how much your hair has grown.
Shoot your new look in the first few days after the transformation, under the same lighting and angles you used in the OteApp simulations. Compare with the simulated images and see how much reality has approached the forecast. If there are significant differences, consult your hairdresser for possible adjustments. This comparison also helps you learn for future transformations.
Extra Tips to Maximize Success
There are some additional details that can greatly improve your process of testing new looks. First, remember that the simulated hair color can vary greatly according to the natural color of your hair. The darker your natural hair, the harder it will be to achieve very light colors like platinum blonde, as this will require discoloration and can damage the hair.
Second, consider your skin type when choosing hair colors. The same color may look much better on someone with warm skin tone than on someone with cold skin tone. Use OteApp with that in mind, and watch how different colors interact with your specific skin tone.
Third, don’t be afraid to try out styles that you didn’t think fit you. Sometimes, the visual simulation surprises us and shows that a cut or color you’d never actually consider looks amazing. Keep an open mind during the exploration process on OteApp and similar apps.
Fourth, consider long-term maintenance.Shorter hair may be easier to care for on a day-to-day basis, but it requires more frequent visits to the hairdresser.Longer hair offers more versatility of styles, but requires more time in the bath and more care products.OteApp shows you how it will look, but only you can decide if it is something sustainable for your life.
Fifth, take advantage of the advanced functions that OteApp offers. Many users do not explore all the possibilities of the application, such as skin color adjustments, changing accessories or even changes in makeup style.The more time you spend exploring these functions, the better your understanding of how the new look will fit into your overall life.
Sixth, take notes on which styles you liked and why. Writing a short description about each cut or color that interested you helps you organize your preferences and remember the reasoning behind your choices.This is particularly useful if you are going to test visuals with your hairdresser a few weeks after doing the simulations.
Finally, remember that hair grows back. Even if the cut does not go exactly as expected, this is not permanent. Most haircuts can be adjusted or corrected by a good professional. The color can be changed again or allowed to grow. Keeping this perspective in mind takes the pressure off of making the perfect decision the first time.
Testing new looks before cutting your hair is a process that combines technology, self-knowledge and planning. Using OteApp and following this practical step-by-step guide, you go to the hairdresser’s chair with much more confidence.Your transformation will be the result of a conscious and well-informed decision, not a boost. This makes the whole experience more satisfying and the results much more likely to be the ones you really want.