
How to Clear Android Memory Easily
Announcements
Your Android smartphone is slow and constantly crashing? The solution may be much closer than you think. By cleaning the memory of your device, you can regain performance and ensure a much more fluid experience in everyday life.
Announcements
Android memory works differently than traditional computer memory.When you use applications, the system stores temporary data in RAM to access it quickly, but this data can accumulate and impair the overall operation of the device. Understanding how to manage this memory is essential to keep your device always optimized.
Why Your Android Memory Gets Full
Running apps consume RAM constantly, even when you are not actively using them. Every open app, every notification received, and every background process all contribute to the accumulation of temporary data on your phone.When that memory gets close to the limit, Android starts to get noticeably slower and apps may crash or close unexpectedly.
In addition, application caching accumulates over time, storing images, videos, and data from websites you have visited. This cache exists to load content faster on future visits, but it can take up gigabytes of space if not managed regularly.Temporary files from incomplete downloads, data from long-unused applications, and system logs also consume valuable space.
Method 1: Quick Clean through Settings
The simplest way to clean Android memory is to access the native settings of the operating system. You do not need to install any external applications or do complicated procedures, as Android itself offers powerful tools for this task. This method is safe and recommended by the Google developers themselves.
To start, open your device Settings and look for “Apps” or “Application Manager”. Depending on the version of Android and the manufacturer of your phone, the name may vary slightly. Here you will see a complete list of all the applications installed on your phone, usually organized by the amount of memory they consume. Tap the application that takes up the most space and select the option “Cache Clear”. This action removes temporary data without harming the operation of the app.
If you want to be more aggressive, you can select “Clear Data” instead of just the cache. However, be careful, as this will delete all settings, logins and data saved locally from the application. Repeat this process with the applications that consume the most memory and you will notice a significant improvement in the performance of your Android in a matter of minutes.
Method 2: Close Applications in Background
Apps running in the background consume RAM even when you are not interacting with them. Often, these apps keep running because they have been left open and never closed properly. Manually closing these apps is one of the fastest ways to free up memory immediately.
To access the open apps, swipe up from the end of your device screen and hold for a second. This will open the recent apps menu, showing all the apps that have been recently used. You will see a visual list of the apps with options to close them. Swipe each app left or right, or tap the close button (usually an X or a minus symbol) to end it completely.
A valuable tip is to regularly review which apps you really need to leave open. Social networks like Facebook, Instagram and TikTok are often the biggest consumers of memory in the background. If you do not need to receive immediate notifications from these platforms, close them completely and open only when you want. This can recover hundreds of megabytes of RAM, depending on how many heavy applications you had running.
Method 3: Uninstall or Disable Unnecessary Apps
Many smartphones come with pre-installed apps that you never use. These ghost apps consume memory, storage, and battery constantly, even when you are not aware of it. Cleaning them can free up a surprising amount of resources.
Re-access the Application Manager in Settings and look for apps that you never open or don’t recognize. Tap each one and check for the “Uninstall” option.If the uninstall button is gray, it means that it is a system app that can’t be removed, but you can disable it by selecting “Disable”. Disabled system apps will no longer appear in your app menu and will not consume resources.
Start with the list of apps organized by use. If an app has not been used in several months, it is an ideal candidate for uninstallation. Remember that you can always reinstall apps later through the Google Play Store if you change your mind. This minimalist approach keeps your Android clean and responsive in the long run.
Method 4: Clear the Whole System Cache
In addition to the individual caches of each application, there is a system cache that accumulates data from all over Android. Clearing this cache is a deeper operation that removes a lot of temporary data at once, resulting in significant space release.
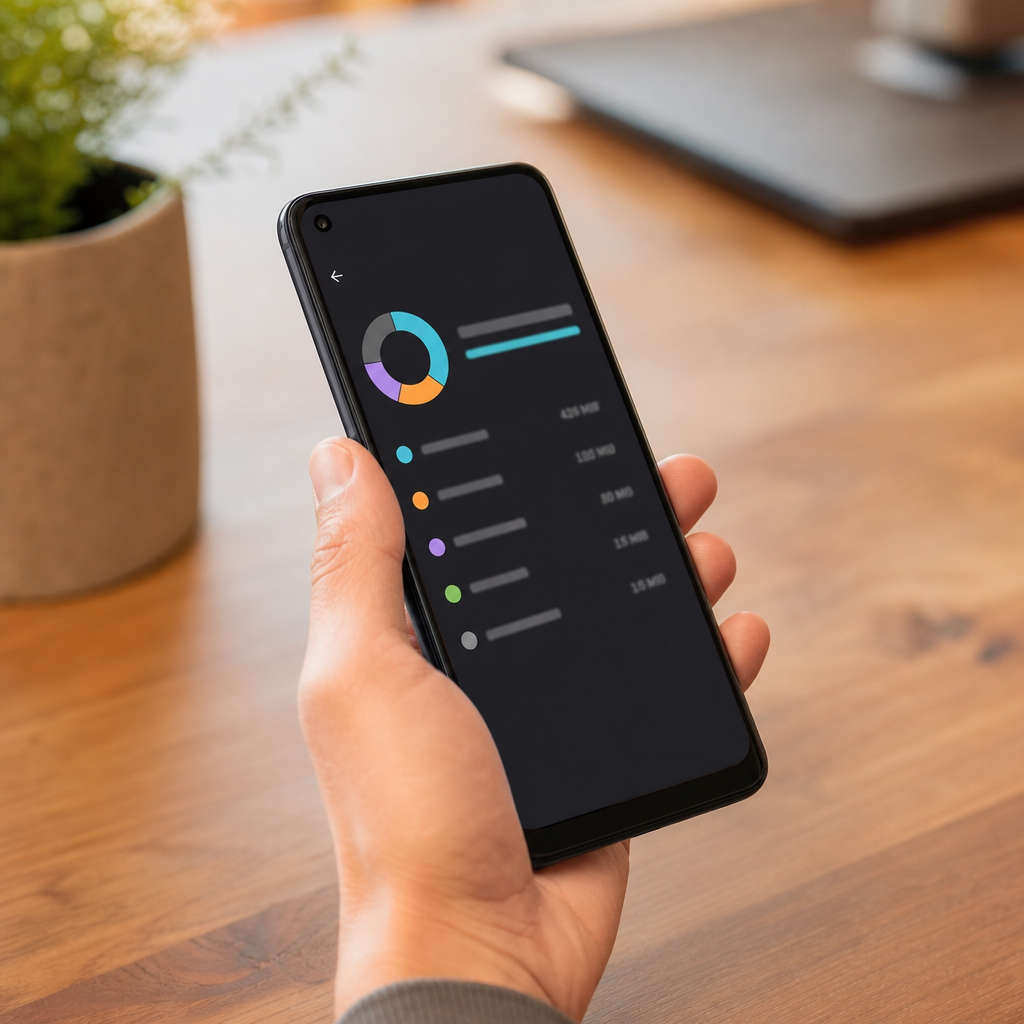
To do this, go to Settings, select “Storage” or “Storage and Cache”, and look for the option “Clear Cache” or “Clear Temporary Files”. On some phones, this option is in “File Manager” or “My Storage”. Tap on it and confirm the action. The system will start processing and removing all these temporary files, which may take a few minutes depending on how much cache is accumulated.
This operation is especially useful when you feel that the phone is significantly slower than normal.Many users experience noticeable increases in speed soon after clearing the system cache.The advantage is that this operation does not affect their applications or personal data in any way.
Current Trends in Android Memory Optimization
In 2024, technology professionals note a major change in the way users think about memory cleanup. Third-party cleaning tools, which were popular a few years ago, are becoming less relevant because modern Android manages memory much better natively.Google developers have implemented intelligent algorithms that automatically release memory when necessary, reducing the need for frequent manual intervention.
The current trend is to focus on good application management practices rather than relying on automatic cleaners.Experienced users now prefer to actively manage which apps run in the background, disable unnecessary notifications, and periodically do logical cleanups.
Platforms like OteApp are documenting these behavior changes and helping users understand that cleaning Android memory need not be a complicated task.The modern philosophy is simplicity and efficiency: instead of installing multiple cleaning apps, you use the native Android tools with intelligence and purpose.
Best Practices to Keep Android Memory Clean
Establishing regular maintenance routines is much more effective than doing drastic cleanups occasionally. You don’t have to be constantly cleaning memory if you know how to prevent build-up. The first essential practice is to review your app permissions regularly. Go to Settings, go to “Permissions” and disable location, camera, and microphone access for apps that don’t really need these features.
Another important practice is to limit apps that can run in the background. Many apps automatically request this permission, but you can selectively decline it. Go to Settings, look for “Battery Saving” or “Battery Optimization”, and add the apps you want to be terminated when not in use. This way, when you are not actively using a social media or streaming app, it will automatically close.
Set a monthly schedule to do a more thorough cleaning of your Android. Take a few minutes to review your recent apps, remove anything unnecessary, clear the cache of heavy apps and organize your folders. This preventive maintenance prevents your phone from getting to the point of being unusually slow. Many users who implement these practices report that their phones maintain their original performance for much longer.
Pay special attention to apps that request frequent updates. Well-optimized apps receive updates that improve memory efficiency. Keep your apps up-to-date to ensure they are working with resource management best practices. If an app continues to feel very heavy even after upgrading, consider using a lighter alternative or accessing it through the browser when possible.
Monitoring your storage is just as important as cleaning up RAM. Go regularly to Settings and check the storage graph to understand what is consuming the most space. Old photos and videos often take up most of the space, as well as downloads you forgot existed. Consider using cloud services like Google Photos to back up your images and free up local space on your Android device.
From now on, you have a complete knowledge on how to keep your Android optimized and responsive.The combination of regular cache cleaning, intelligent background application management and good preventive practices will create a much superior using experience.Your smartphone will be faster, have more durable battery and you will never again suffer from frustrating crashes caused by overloaded memory.