
Before Painting, See the Result
Announcements
Have you ever chosen a color for your wall and regretted it after application?This common situation can be avoided with a simple change of mentality.
Announcements
The philosophy of previewing previously transforms any design. Just like testing hair shades virtually, you can experiment with colors in your home without compromise.
Choosing the right shade goes far beyond personal taste.It involves understanding the feeling you want to create in your room and how natural light affects the shade.
This guide is designed to help you on this journey.Let’s explore why testing is crucial, practical methods, preparation and valuable expert tips.
Remember: a good painting is a job that requires planning. Visualizing the final effect saves you time, money and prevents frustrations.Don’t skip this essential step!
Key Learnings
- Testing the color on the wall before buying paint avoids regrets.
- The choice of the ideal shade considers the lighting and the function of the environment.
- Modern methods, such as test stickers, offer a close-up view of reality.
- Prior planning saves resources and ensures a harmonious result.
- Following a structured guide increases confidence throughout the project.
- The color applied will be exactly the one you visually approved.
Why Seeing the Result Before Painting is Essential
The difference between the color in the can and the color on the wall is one of the biggest problems in painting projects.Many people are surprised negatively after the definitive application of the paint.
This is because several factors alter our visual perception.Testing on site is the only way to ensure that you will love the new look of your space.
The risks of choosing the color straight into the can
Relying only on the small sample of the catalog can lead to regret. The shade on the can rarely exactly matches what appears on the surface.
This common mistake results in wasted material, time, and money.You may need to buy new paint and redo all the work.
Another problem is that different types of paint (frosted, satin, glossy) interfere with the visual result.Each finish reflects light in a different way, changing the perceived intensity.
Surfaces such as plaster, concrete or wood also absorb the product in a unique way.Testing on the real wall shows how the color will behave in its specific context.
How light transforms a color in its environment
Lighting is the main element that changes our perception of colors. The same shade behaves in completely different ways depending on the available light.
More illuminated environments tend to lighten the applied color. Spaces with little natural light can significantly darken the chosen tone.
Artificial light also creates amazing effects.Cold white lamps make the colors bluer, while yellow ones warm up the overall appearance.
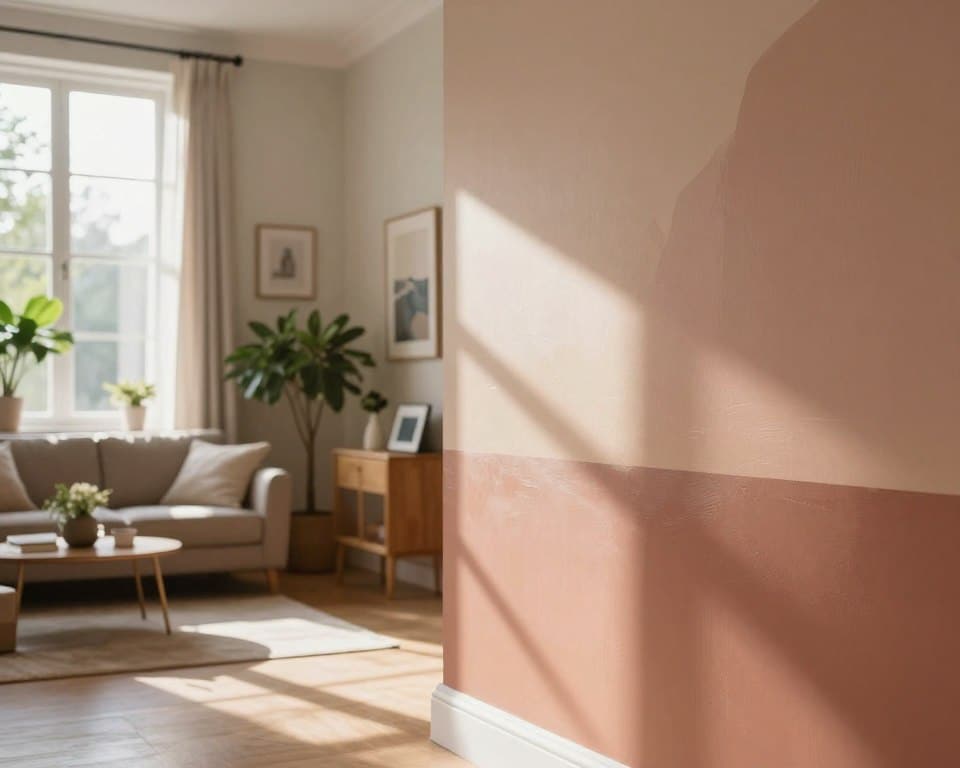
Take for example colors like Bolero or Macadamia chips. During the day, they may look soft and light, but at night they gain depth and become darker.
This transformation happens because our eyes interpret colors according to the quantity and quality of light. Therefore, observing the tone at different times is crucial.
The influence of other colors and elements of the decor
This phenomenon of interaction between colors can make a neutral wall appear warmer or cooler.
It all depends on the colors of the furniture, carpets and curtains around. A light beige shade can turn yellowish near a vibrant yellow, like the Palmier.
Already close to intense orange colors, this same shade can gain an orange aspect.The color Wheat is an excellent example of this visual effect.
Finishing elements such as floors, woods and fabrics also dialogue with the painted wall.They create a set that needs to be harmonious to work well.
On-site testing allows you to evaluate this complete integration.You can see how all components of the environment talk to each other.
Skipping this step can lead to problems of satisfaction with the final result. Many people end up living with a color that does not please or need to repaint early.
Remember: the context of your space makes all the difference. Never rely only on the small sample, because your room has unique characteristics.
Seeing the effect before application is not a luxury, but an essential step of the process. This practice ensures quality and an end result that really matches your expectations.
Before Painting, See the Result: Practical Methods for Testing
The good news is that testing colors on the wall has never been more practical and affordable. The proposal to experiment without compromise materializes in specific products that offer faithful visualization.
These solutions use technology to simulate the final effect accurately.It is similar to the experience of testing hair shades virtually, but in your own space.
Method 1: Ink-Test (as Suvinil Test Your Color)
This product is a special 200ml packaging with matte finish.It covers up to 1m², allowing you to visualize the color in a significant area.
The line offers more than 1,300 shades available for experimentation.You choose the desired color and apply it directly to the surface.
The main advantage is to feel the actual texture and matte finish on site application true shows exactly how the product will behave.
You realize how a ink it interacts with the light and other elements of the room. It is a test that leaves no room for doubt about the final result.
Method 2: Adhesive-Test (practical and no dirt)
For those who prefer a cleaner option, there is the test adhesive. It measures 25cm x 25cm and has full fidelity to the color of the ink correspondent.
Its greatest practicality is the possibility of pasting and replacing without generating dirtiness. Does not compromise the wall and can be repositioned as many times as you want.
That tool allows quick tests at multiple points in the environment.You evaluate how the hue behaves in different lighting conditions throughout the day.
It is ideal for simultaneous comparisons between multiple options. The reversibility of the test offers complete freedom in experimentation.
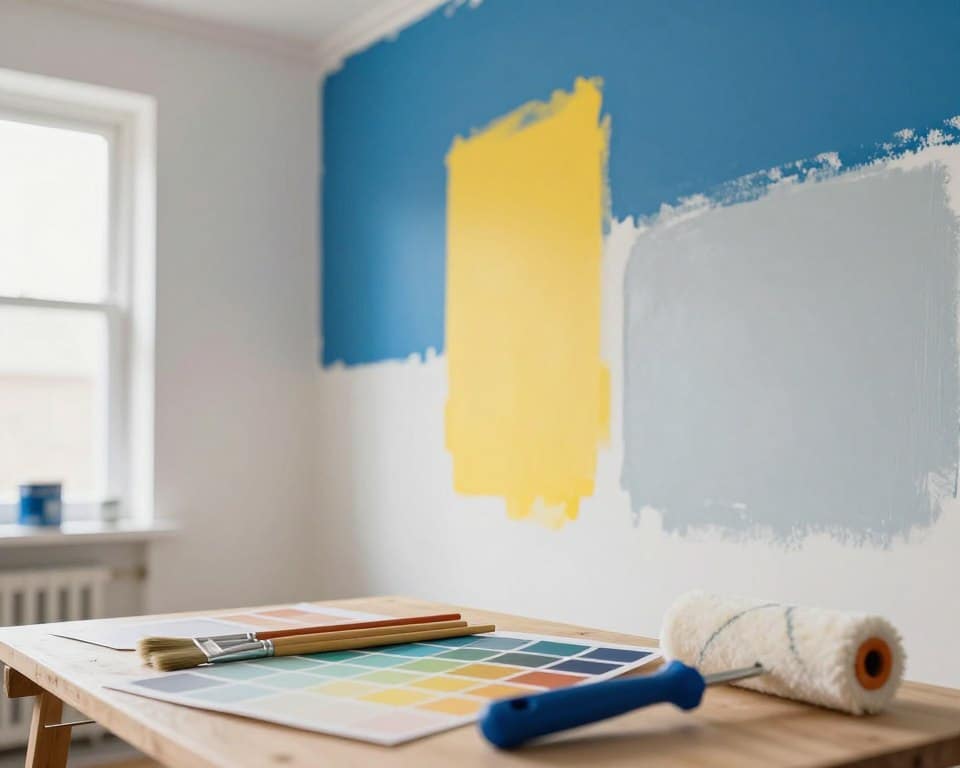
Step by step: how to apply the tests correctly
For a inktest, start by choosing strategic locations in walls. Test at more than one point and close to fixed elements such as windows or doors.
Make a minimum preparation of the area, ensuring that it is clean and dry. Use rollers small or brush to apply two coats, observing the drying time between them.
Only with two layers you will see the real color and its ultimate intensity. Evaluate the result at different times: morning, afternoon and night.
For the test sticker, the process it is even simpler. Remove the protective paper and glue on the clean surface.
Position in several areas to analyze the interaction with natural and artificial light. Replace as many times as necessary until you make your decision.
A valuable tip is to test next to furniture or permanent decorative elements.This shows how the new color will dialogue with the existing environment.
Real cases prove the effectiveness of these methods.Make-up artist Vanessa Rozan used the adhesive to experiment with seven shades before transforming her apartment.
Nath, from Apartment 203, tested three colors with the test paint: Red Clay, Tamarind and Anis Flower. She analyzed how Tamarind behaved with natural light before the final choice.
Comparing the two tools, The test ink is ideal for those who want to feel the real application. Already the adhesive is perfect for quick and multiple tests without dirt.
Use these resources as a fundamental part of your work of planning. Dedicate time this step saves resources in the future.
This practice ensures that the definitive application is a success. You will be sure that the color in the walls it will be exactly the one you have visually approved.
Preparing the Wall: The Basis for a Perfect Result
The secret to a lasting, uniform painting lies in an often overlooked stage: the preparation. Just as the technology for testing colors offers accurate visualization, take care of the surface it is the foundation that guarantees fidelity and quality.
A poorly prepared wall distorts any hue. Hidden imperfections arise after application, ruining the work.Dedicating time to this stage is investing in the beauty and durability of your environment.
Assessing the current state of your wall
Start with a systematic assessment of surface. Examine every centimeter carefully, looking for signs of problems common in Brazilian homes.
Check for previous paint. Observe the texture and finish. Porous surfaces such as concrete, plaster or bricks require special treatment.
Look for indications of moisture or moldy. Dark spots, mildew and wet areas need immediate correction. Stains grease, grease or soap also compromise adherence.
According to ABNT NBR 13245, a surface ideal should be cohesive, clean and completely dry. Any contaminant affects the final result of the paint.
Fixing imperfections: cracks, holes and bubbles
Cracks they are cracks that appear over time. They can be thin or thick, requiring different approaches. For small cracks, use running mass or saddle-cracks.
Holes from nails, screws or deterioration need to be filled. Use acrylic mass or plaster to level these areas. Apply with spatula and let dry completely.
Bubbles generally indicate moisture or poor adhesion. Scrape the loose area, sand and apply new dough. Identify the cause to prevent the return of the problem.
For moldy, follow a specific protocol.Wash with soap and water, then use diluted bleach solution.Let it dry naturally before continuing.
Surfaces with excessive gloss should be sanded.This “breaks” the gloss and improves the adhesion of the new paint. Use sandpaper manual or electric as needed.
The importance of the preparation fund and the sealer
These products are essential for an preparation professional. Each has a specific role in the preparation of the wall.
The preparatory background, like Luztol, agglutinates loose parts surfaces problems with weak plastering or peeling paintings. Creates a homogeneous base to receive the paint.
The sealer closes the pores from never painted walls.Saves paint and significantly improves adhesion.It is essential for concrete, plaster and apparent bricks.
The leveling process uses sandpaper of adequate number. Work manually or with electric sander. corners and areas of difficult access.
Follow this practical step by step: general cleaning, removal of old paint, correction of imperfections, Sanding, bottom application or sealer, and final dust cleaning.
Skip this step brings serious risks. Uneven finish, lack of uniformity in color and low durability are common consequences. Problems as peeling and spots appear early.
It may seem laborious, but the preparation it makes all the difference. One wall well cared for is the perfect canvas for any shade.Your test or definitive color will behave in the best possible way.
Remember: a quality from the final result depends directly on the care with the base.Invest time in this phase and ensure an impeccable work that will last for years.
Valuable Tips for Your Choice and Application Process
With the color chosen and tested, the time has come to plan the perfect execution and future care tips practices that turn your vision into a lasting reality.
Organizing each step ensures a final result impeccable.You avoid surprises and conquer one environment that reflects your personal style.
Creating a moodboard to view the set
A moodboard is your visual “feeling panel”.It brings together all the inspirations of the project in one place.
Start with physical samples of the color-test.Use the adhesive or a painted piece of the wall. Add reference photos you love.
Include samples of fabrics, floors and other decorative elements.This collection shows how everything harmonizes before the application definitive.
The moodboard allows you to adjust combinations of colors and textures. You create the desired atmosphere, whether it is coziness, sophistication or modernity.
Do not forget to consider the type of ink e finishes. Matte, satin or glossy completely change the feel of the space.
This visual tool is powerful.It transforms abstract ideas into a concrete, executable plane.
Inspiration: real cases of those who tested before painting
Real stories show the effectiveness of the pre-test.They offer confidence for your own journey.
Ana, an architect from Sao Paulo, used stickers to try out five shades of green.
He tested each option on different walls of the room, and watched how the morning light transformed the shades.
After three days of analysis, he chose a soft green-water.The result brought freshness and concentration to his work diary.
Carlos and Mariana renovated their apartment in Rio. They were afraid of dark colors in the master bedroom.
Used a ink-test to apply a slate-gray on a small area. They found that the tone created a cozy singer.
The couple approved the effect after seeing at different times.The dark color brought sophistication without weighing on the environment.
These examples show how testing creates security.You make assertive decisions, whether with neutral or bold colors.
Care after painting to ensure durability
O process does not end when the paint dries. Post careapplication they are essential to maintain beauty.
On the day of the final painting, prepare the environment carefully, Remove furniture or cover them with resistant plastics.
Ventilate the place well throughout the work. Use tools de quality like suitable rollers and brushes.
Follow the manufacturer’s instructions for dilution time drying between coats for a uniform finish.
After the painting, Wait for the full curing period. Usually it is 30 days before washing or touching objects in the surface.
Avoid excessive humidity in the room. Protect the walls from prolonged direct sunlight, which can fade some colors.
For cleaning from dust, use only dry and soft cloth.In case of stains, a soft sponge with transparent neutral detergent resolves.
Never use products abrasives or strong chemicals.They damage the finishing and commit to durability.
Perform preventive maintenance regularly. Inspect corners and areas subject to moisture to detect signs of mold or bubbles.
Acting quickly corrects small problems before they grow, this attention holds its space always beautiful.
The choice of products de quality directly impacts on final result. Paints suitable for each type of environment resist better to time.
One process correct of application avoid early touch-ups. Follow these tips it guarantees years of satisfaction with its renewal.
See all work as an investment in your home, each well-executed stage creates a personal refuge that lasts.
Remember: prepare a wall carefully and choosing the right materials makes all the difference.Your dedication will be rewarded with a harmonious environment.
These tips complete your guide to a successful transformation. Now you have all the tools to create the space of your dreams.
Conclusion
Transform your space with color is an exciting journey that begins with a simple visual test.This guide has shown how the philosophy of seeing before ensures assertive choices.
The influence of natural light and other colors in the environment it requires experimentation.Practical methods such as the test ink and the adhesive offer faithful visualization.
A preparation careful of wall it is the basis for any good painting. One surface free from imperfections ensures perfect grip and durability.
Combine test technology with proper technique.Dedicating time to these steps saves resources and avoids rework.
Use the tools presented to create your dream environment.Start by experimentation and follow each step with confidence.
Painting is more than applying color, it is a form of personal expression that transforms your home.
With this knowledge, you are ready to renew any space. O result the final will be exactly as you imagined.
Thank you for following this complete guide.Your dedication will create a harmonious and durable environment.